
By Exit Desk
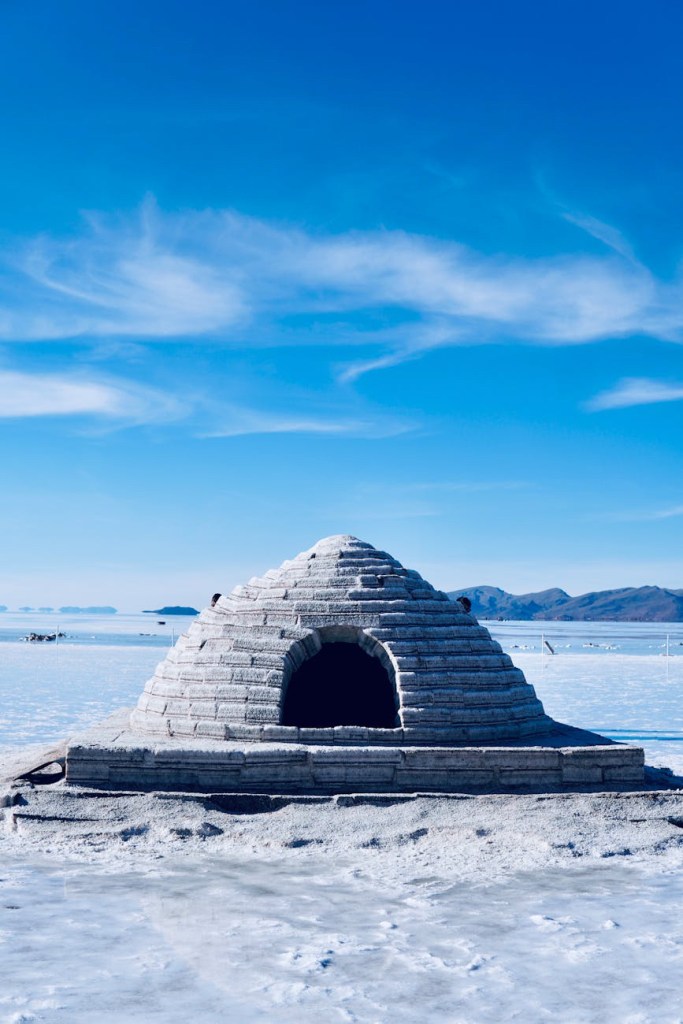
Building an igloo is one of those skills that looks impossible until you try it. In reality, anyone with the right snow, a few basic tools, and some patience can build a sturdy, insulated shelter that can last days — even in New Jersey, if the weather cooperates.
Here’s exactly how igloos are built, why the shape works, and how to create one safely.
What You Need
You don’t need fancy gear. Arctic builders used simple hand tools for centuries. Here’s the modern version of that list:
Hard-packed snow (wind-packed snowbanks or plow piles work best) Snow saw or hand saw (a pruning saw works surprisingly well) Snow shovel Gloves and waterproof clothing A friend (optional, but speeds things up)
The key material isn’t ice — it’s compacted snow. Loose powder won’t work. Snow that’s been compressed by wind, plows, or repeated freeze–thaw cycles is ideal.
Step 1: Pick the Right Snowbank
Look for:
A plowed mound A wind-packed drift A snow pile that’s at least 3–5 feet high
Test the snow by cutting a test block. If it holds its shape when you lift it, you’re good.
Step 2: Cut Your Building Blocks
Traditional igloo blocks are:
2–3 feet long 1 foot high 8–12 inches thick
Use a snow saw to cut clean, rectangular blocks. The tighter the edges, the stronger the igloo.
You’ll need around 40–60 blocks for a small one-person igloo, and 70–100 blocks for a larger dome.
Step 3: Create the Base Circle
Mark a circle in the snow roughly 6–8 feet wide depending on size.
Lay your first row of blocks around the circle.
Then — this is the key — cut a gentle upward slope along the top edge of the first row so the entire structure spirals upward naturally. This prevents the dome from collapsing inward.
Step 4: Build the Spiral Dome
Stack each block slightly leaning inward, creating the dome shape.
Tips:
Trim every block so it fits snugly Angle them inward progressively Fill any gaps with loose snow (“chinking”)
As the walls rise, the inward lean becomes more dramatic. By the time you reach the top, your blocks should almost be horizontal.
Step 5: The Keystone
The final block — the keystone — locks the entire dome in place.
Cut a slightly oversized block, shape it into a wedge, and set it on top. Once it’s in, the igloo becomes self-supporting.
This is the moment where the whole thing turns solid.
Step 6: Dig the Entrance Tunnel
Cut a small opening at ground level and dig downward slightly, creating a cold-air trap. Warm air stays inside while cold air settles into the tunnel.
If you want extra insulation, build a small entrance arch using leftover blocks.
Step 7: Smooth the Inside
Run a gloved hand around the interior walls to lightly pack the surface. When the inside warms from body heat, the snow will melt slightly, then refreeze into a smooth, ice-like shell.
This strengthens the entire structure.
How Long Will an Igloo Last?
In freezing temperatures, an igloo can last days to weeks.
If temperatures rise above freezing during the day but dip below freezing at night, it may sag but then refreeze — lasting 24–48 hours in typical New Jersey winter swings.
With solid blocks from plow piles, even longer.
Is It Possible in New Jersey?
Yes — but only when the conditions are right:
You need hard-pack snow (plow piles are perfect) You need at least one night below freezing Powdery storm snow won’t work until it settles or refreezes
Many people build functioning igloos in the Northeast every year, and Jersey winters absolutely produce the right conditions after major storms.
Final Thoughts
Building an igloo is half engineering, half adventure. Whether you’re doing it for fun, survival practice, or just to say you did it, the process teaches you a surprising amount about snow, structure, and patience.
Just remember: compact snow, clean cuts, inward angles, and a solid keystone. Get those right, and the dome will hold.
December 3, 2025

